
03 — Making a sale (POS)
What this screen is for
The till screen where you ring up a customer: add items, apply a discount, take payment and print the receipt. This is the screen your cashiers use all day.
Before you start
- You are logged in and a store is selected (00 — Quick Start).
- Products exist with barcodes/prices (05 — Add & edit products).
Step-by-step
1. Open the POS screen
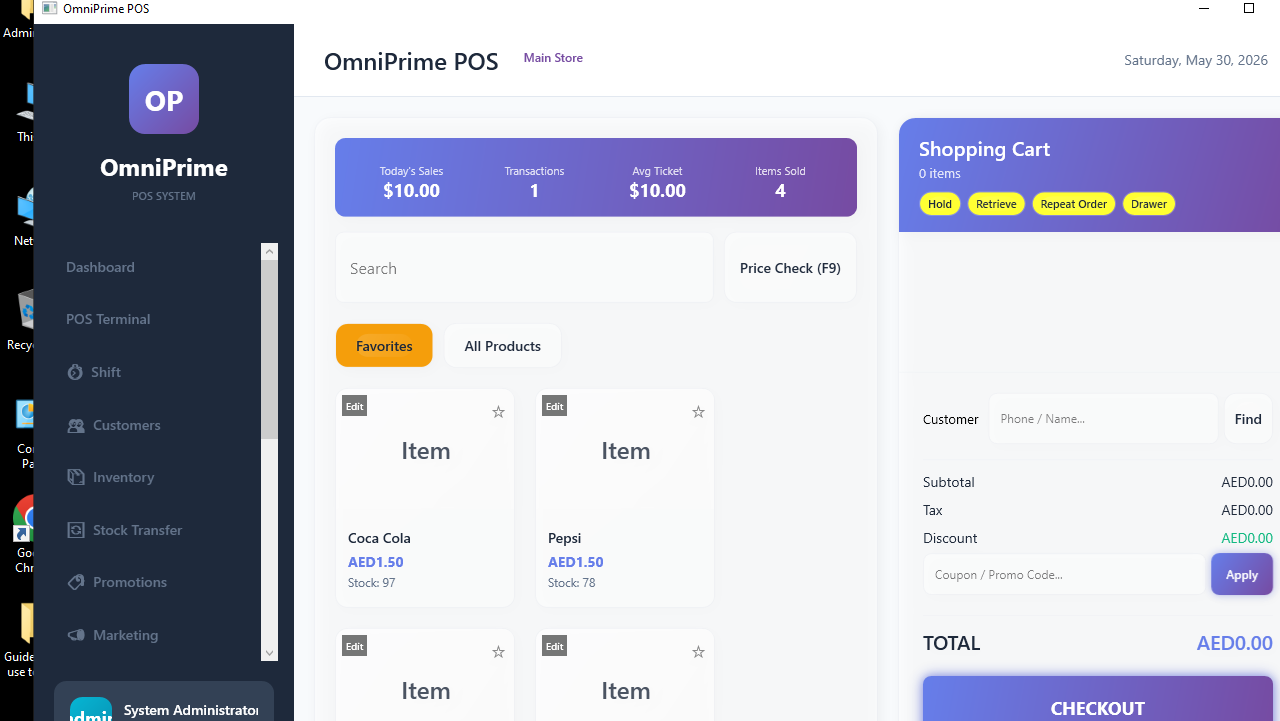
From the dashboard click POS Terminal (or the cart icon in the side menu).
2. Add an item by scanning
Point the barcode scanner at the product barcode, or type the barcode/code in the search box and press Enter. The item drops into the cart on the right with its price.
3. Add more items / change quantity
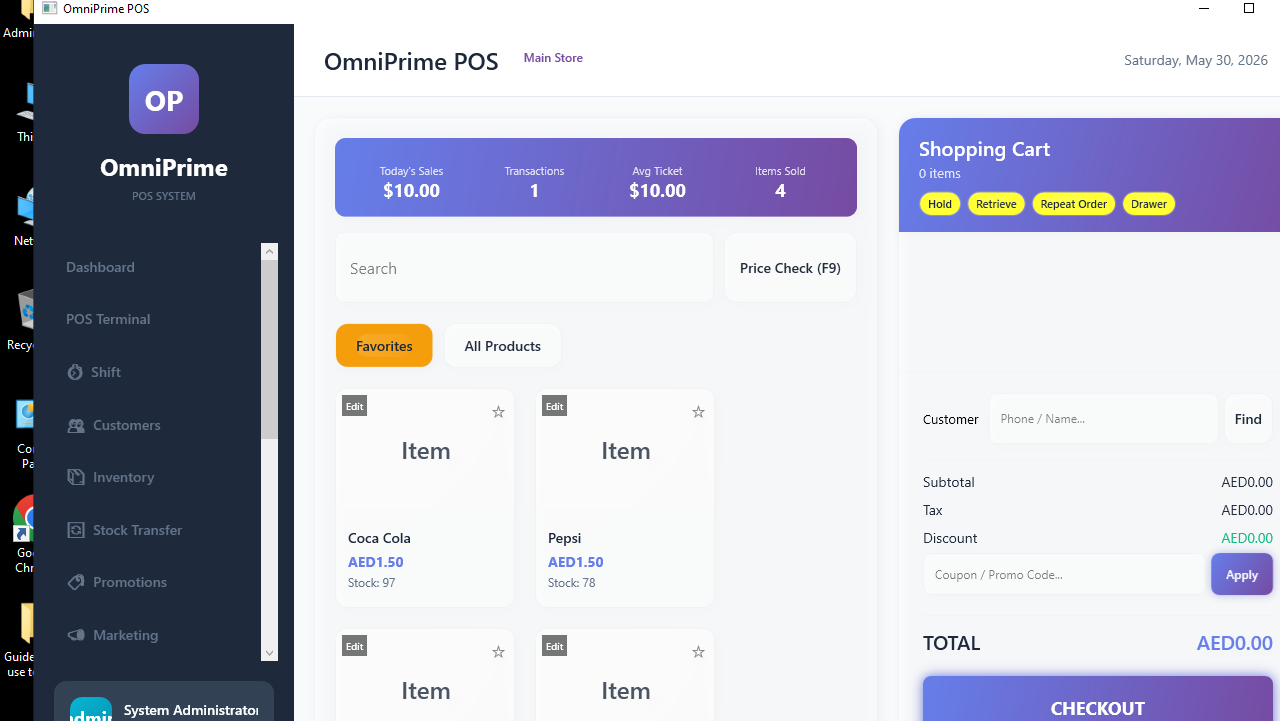
Scan more items. To change a quantity, click the + / – buttons next to the line, or type the quantity. The cart total updates automatically.

4. (Optional) Apply a discount
Click Discount, choose % or amount, type the value and confirm. The total updates.

5. Click Pay / Checkout
Click the big Pay (Checkout) button. The payment window opens showing the amount due.

6. Choose payment method & amount
Pick Cash, Card or another method. For cash, type the amount the customer gave — the change due is calculated for you. Click Complete.

7. Receipt & new sale
A "Sale completed" confirmation appears with the invoice number and change due. The receipt prints (or shows). The cart clears, ready for the next customer.

Real example (using the demo data)
- POS Terminal.
- Scan/type a grocery item (e.g. Milk 1L barcode) → Enter → it appears at its price.
- Add Bread and Eggs the same way → cart shows 3 lines and a running total.
- Click Discount → 5% → Apply → total drops by 5%.
- Pay → choose Cash → type what the customer gave → see the change due → Complete.
- You get "Sale completed! Invoice: INV-00100x" and the cart is empty for the next customer.
If something goes wrong
| You see this | What it means | How to fix it |
|---|---|---|
Cart is empty! on checkout |
No items were added (or they were added on a different POS view). | Add at least one item, then Pay. |
Product not found after scanning |
The barcode isn't in the system yet. | Add the product in 05 — Products, or search by name. |
⚠️ This item is expired warning |
The batch you're selling is past its expiry date. | Confirm only if your policy allows; otherwise cancel and pick fresh stock. See 07 — Expiry. |
| Serial/IMEI box pops up | The item is a warranty-tracked electronic. | Scan/type the unit's serial or IMEI to record the warranty. See 08 — Warranty. |
| Change shows a wrong number | Tendered amount typed incorrectly. | Re-type the cash received before clicking Complete. |
FAQ
Q: How do I remove a line I added by mistake? A: Click the 🗑 / Remove button on that cart line, or set its quantity to 0.
Q: Can I hold a bill and serve someone else? A: Yes — click Hold, serve the next customer, then Retrieve it later. See 04 — Returns & holds.
Q: Can one bill take part-cash, part-card? A: Yes — add each payment method in the payment window until the amount due reaches zero.
Q: Will it block selling expired stock? A: It warns you before selling expired items so the cashier can decide per your store policy.