
05 — Add & edit products
What this screen is for
Create the products you sell and keep their details (barcode, price, photo, expiry, warranty) up to date. Products you add here are what cashiers ring up on the POS.
Before you start
- You are logged in (manager/administrator).
Step-by-step
1. Open Inventory
From the dashboard/side menu click Inventory.
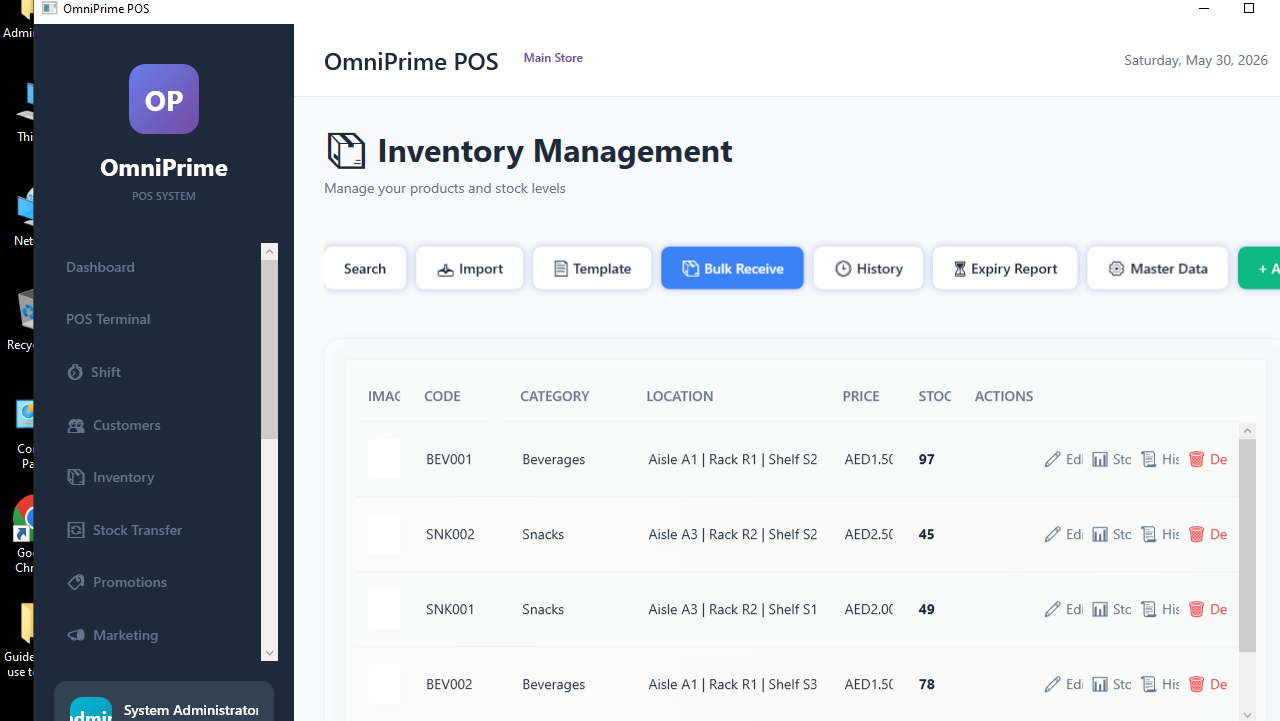
2. Click Add Product
Click the green + Add Product button (top-right).
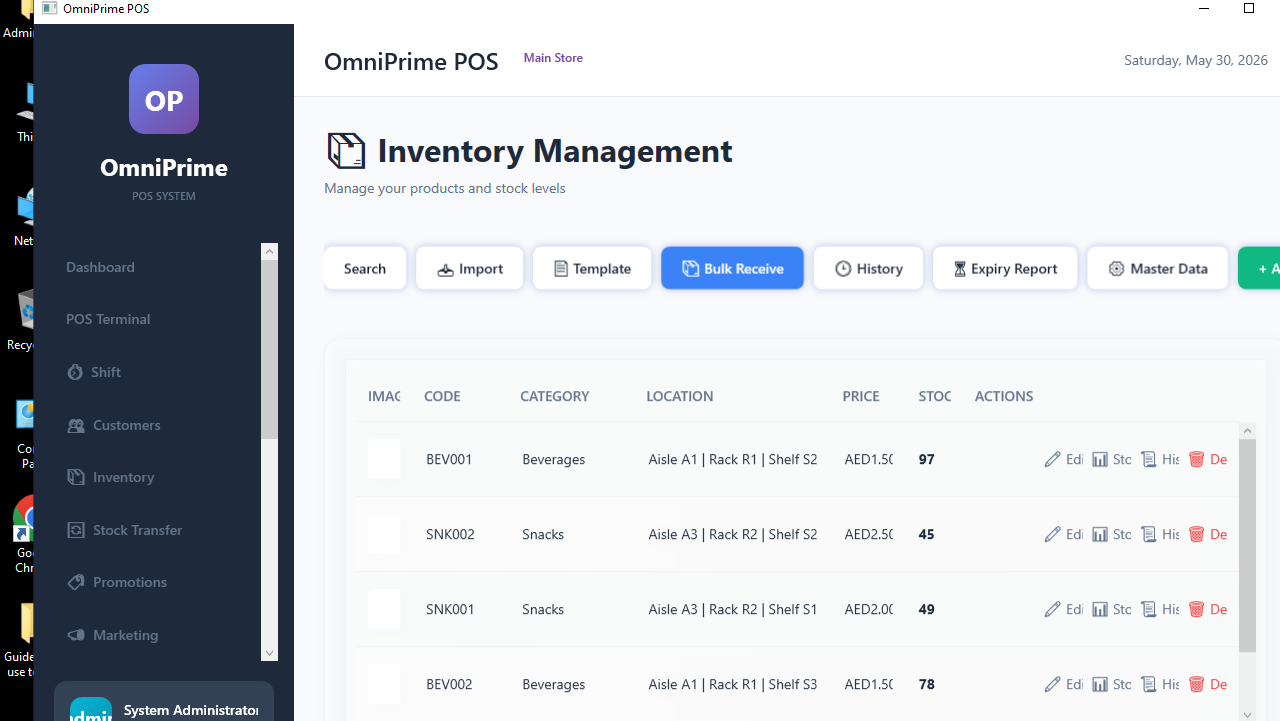
3. Fill the basic details
Enter Name, Code, Barcode, Category, Price and Stock quantity.

4. (Perishable) Set Expiry & Batch
For food/medicine set the Expiry Date and Batch/Lot. See 07 — Expiry.

5. (Electronics) Set Warranty months
For electronics set Warranty (months) if warranty tracking is on. See 08 — Warranty.

6. (Optional) Add a photo & documents
Add a product image, and attach files (spec sheet, invoice) under Documents / Attachments.

7. Save
Click Save. The product appears in the list and is ready to sell.

8. Edit later
Find the product (search by name/barcode) and click ✏️ Edit to change anything.

Real example (using the demo data)
- Inventory → + Add Product.
- Name
Test Cola 500ml, Barcode8900000001, CategoryBeverages, Price1.50, Stock48. - Save → search
Test Cola→ it's in the list and sellable on the POS.
If something goes wrong
| You see this | What it means | How to fix it |
|---|---|---|
Barcode already exists |
Another product uses that barcode. | Use a unique barcode. |
| Can't save | A required field (Name/Price) is empty. | Fill the highlighted fields. |
| Photo won't show | Image was moved/deleted. | Re-add the image in Edit. |
FAQ
Q: Do I have to set a barcode? A: It's recommended for fast scanning, but you can also search by name/code.
Q: Can I attach a supplier invoice to a product? A: Yes — use Documents / Attachments on the product editor.
Q: How do I bulk-add products? A: Use the Excel import template — see 06 — Stock receive.