
12 — Settings
What this screen is for
Set up the app the way your shop works — touch mode, language, store details, and the warranty feature toggle.
Before you start
- You are logged in as a manager/administrator.
Step-by-step
1. Open Settings
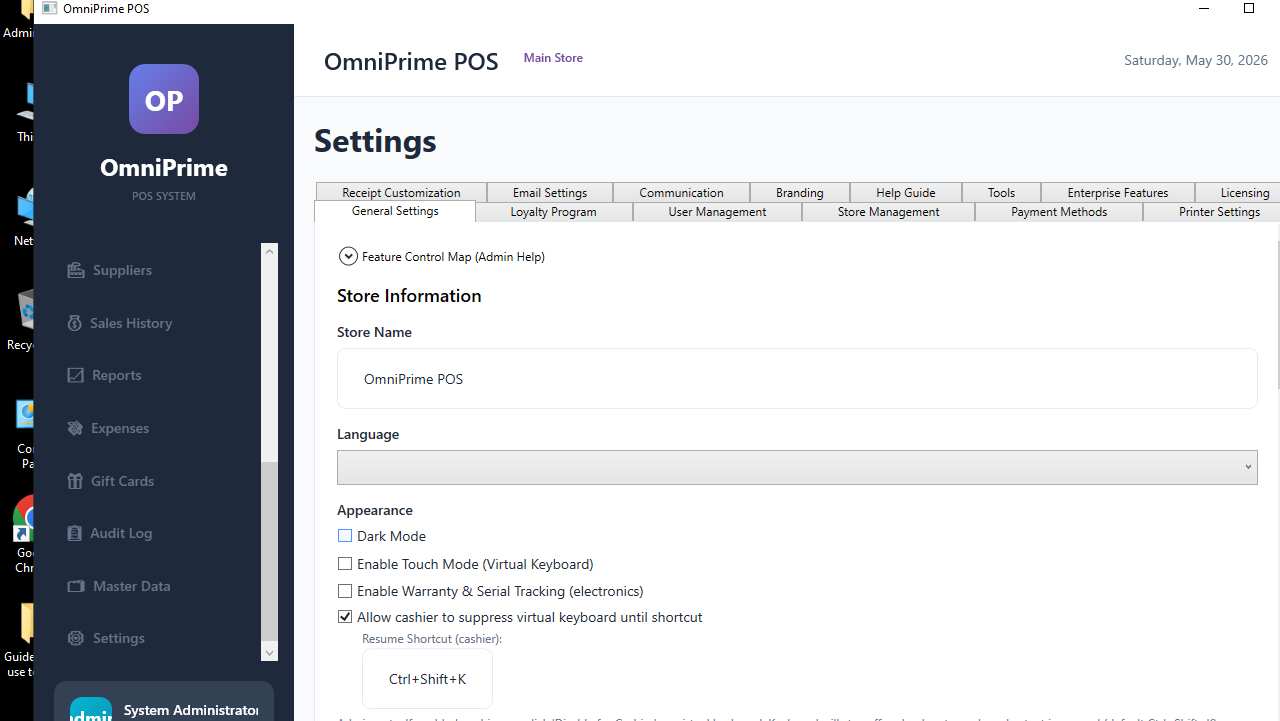
Click Settings in the side menu.
2. Touch mode & on-screen keyboard
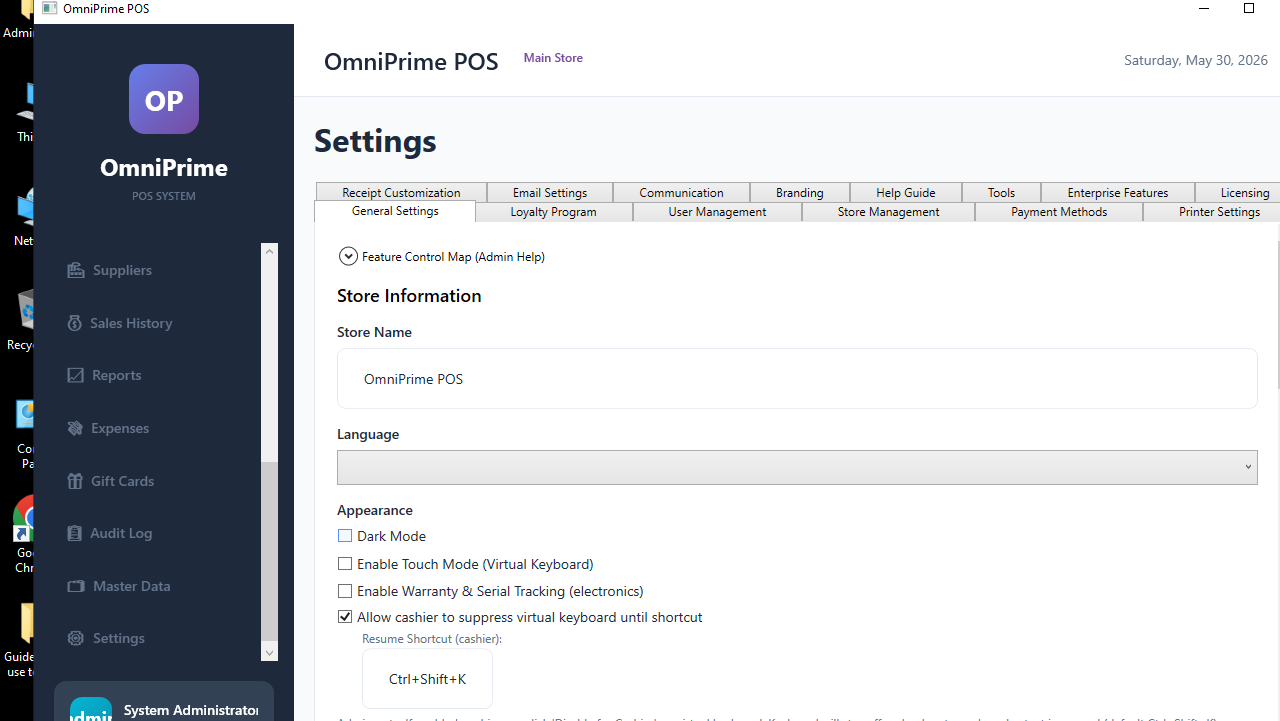
Turn on Touch mode for big buttons and an on-screen keyboard on touch tills.
3. Language
Choose your language; labels update across the app.

4. Store details
Enter shop name, address and receipt header info.

5. Warranty tracking toggle
Switch Enable Warranty Tracking on only if you sell warranty items (08).

6. Save
Click Save. Changes apply immediately.

Real example (using the demo data)
- Settings → turn on Touch mode → Save → buttons get bigger.
- Turn on Enable Warranty Tracking → the warranty tools appear in Inventory.
If something goes wrong
| You see this | What it means | How to fix it |
|---|---|---|
| Setting didn't stick | You didn't Save. | Change it, then click Save. |
| No Settings menu | Your role lacks permission. | Ask an administrator (13). |
FAQ
Q: Will turning on Touch mode help on a normal PC? A: It mainly helps touch screens; on mouse PCs leave it off for a denser layout.
Q: Does changing language need a restart? A: No — labels update right away.