
11 — Accounting export
What this screen is for
Send your sales to your accountant's software without re-typing. OmniPrime POS exports a balanced double-entry journal as Tally XML, QuickBooks IIF, Zoho Books CSV, or a generic CSV.
Before you start
- You are logged in.
- You have made some sales (so there's something to export).
Step-by-step
1. Open Reports
From the dashboard or side menu click Reports.
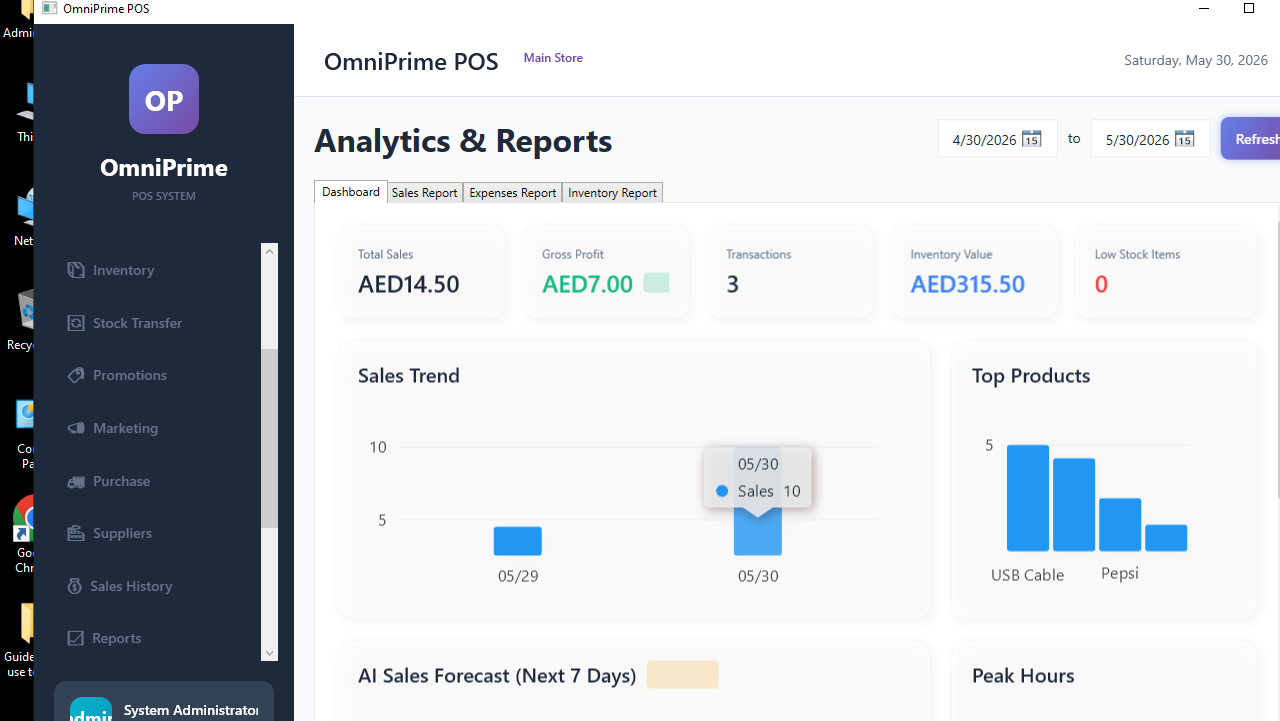
2. (Optional) Pick a date range
Choose the period you want to export (e.g. this month).

3. Click the format you need
Click Tally, QuickBooks, Zoho or Acct CSV.

4. Choose where to save
Pick a folder and filename. The file is written there.

5. Import into your accounting software
Open Tally/QuickBooks/Zoho and import the file you just saved (each has its own Import menu).

Real example (using the demo data)
- Make a couple of sales on the POS.
- Reports → QuickBooks → save as
omniprime-sales.iif. - The file contains a balanced journal (debits = credits). Import it into QuickBooks.
If something goes wrong
| You see this | What it means | How to fix it |
|---|---|---|
| Export file is empty | No sales in the chosen date range. | Widen the date range or make a sale first. |
| Accounting app rejects the file | Wrong format chosen for that app. | Use Tally→Tally XML, QuickBooks→IIF, Zoho→Zoho CSV. |
| "Access denied" saving | The folder is read-only. | Save to your Documents folder instead. |
FAQ
Q: Which formats are supported? A: Tally XML, QuickBooks IIF, Zoho Books CSV, and a generic double-entry CSV.
Q: Is the journal balanced? A: Yes — every export is a balanced double-entry journal (total debits = total credits).
Q: Can I export just one day? A: Yes — set the date range to that day before exporting.